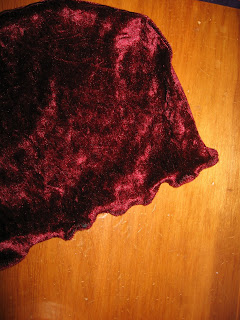
(Please ignore the mess in the background, it was a sewing day, not a cleaning day, lol)

First thing I did was measure Princess from the shoulders to about the ankles where I wanted the cape to fall. After doing this, I measured the cape from the shoulders down and cut off the excess.
With the extra fabric I had from the bottom, I decided to make a hood. I used one of my hooded sweaters to make a paper pattern.

Next, I cut out the hood pieces and pinned them together, facing each other. Then I folded over the bottom edge of the actual cape and pinned this in place as well. I zigzagged the edges of the hood together and zigzagged the bottom of the cape. By the way, stretchy velvet material is kinda tricky to work with so my stitching didn't turn out perfect, but it was good enough for a dress-up cape.

When the hood pieces were sewn together, I folded over the front edges of the hood and zigzagged that just like I'd done to the bottom of the cape. It turned out with a lettuce edge which actually looked kinda cute.

Now all I had to do was attach the hood to the cape. The cape had a slightly padded stand-up collar on it. To make things easier, I folded the collar down and simply zigzagged the hood onto the same seam that the original maker of the cape had created when they'd attached the collar to the cape.

Done! It took me about 15 minutes to whip this up By this time, Princess had gone outside to play so I chased her down to try on her new dress-up cape. She's thrilled with the latest addition to her dress-up box and loves that it makes her feel like a real princess.


VERY PRETTY!!!!
ReplyDelete