

I found this cute purple shirt at JCPenney's and decided to "fix" the neckline so I can just throw the top on without having to layer.

I found some cute knit fabric I had in my stash that matched the shirt.

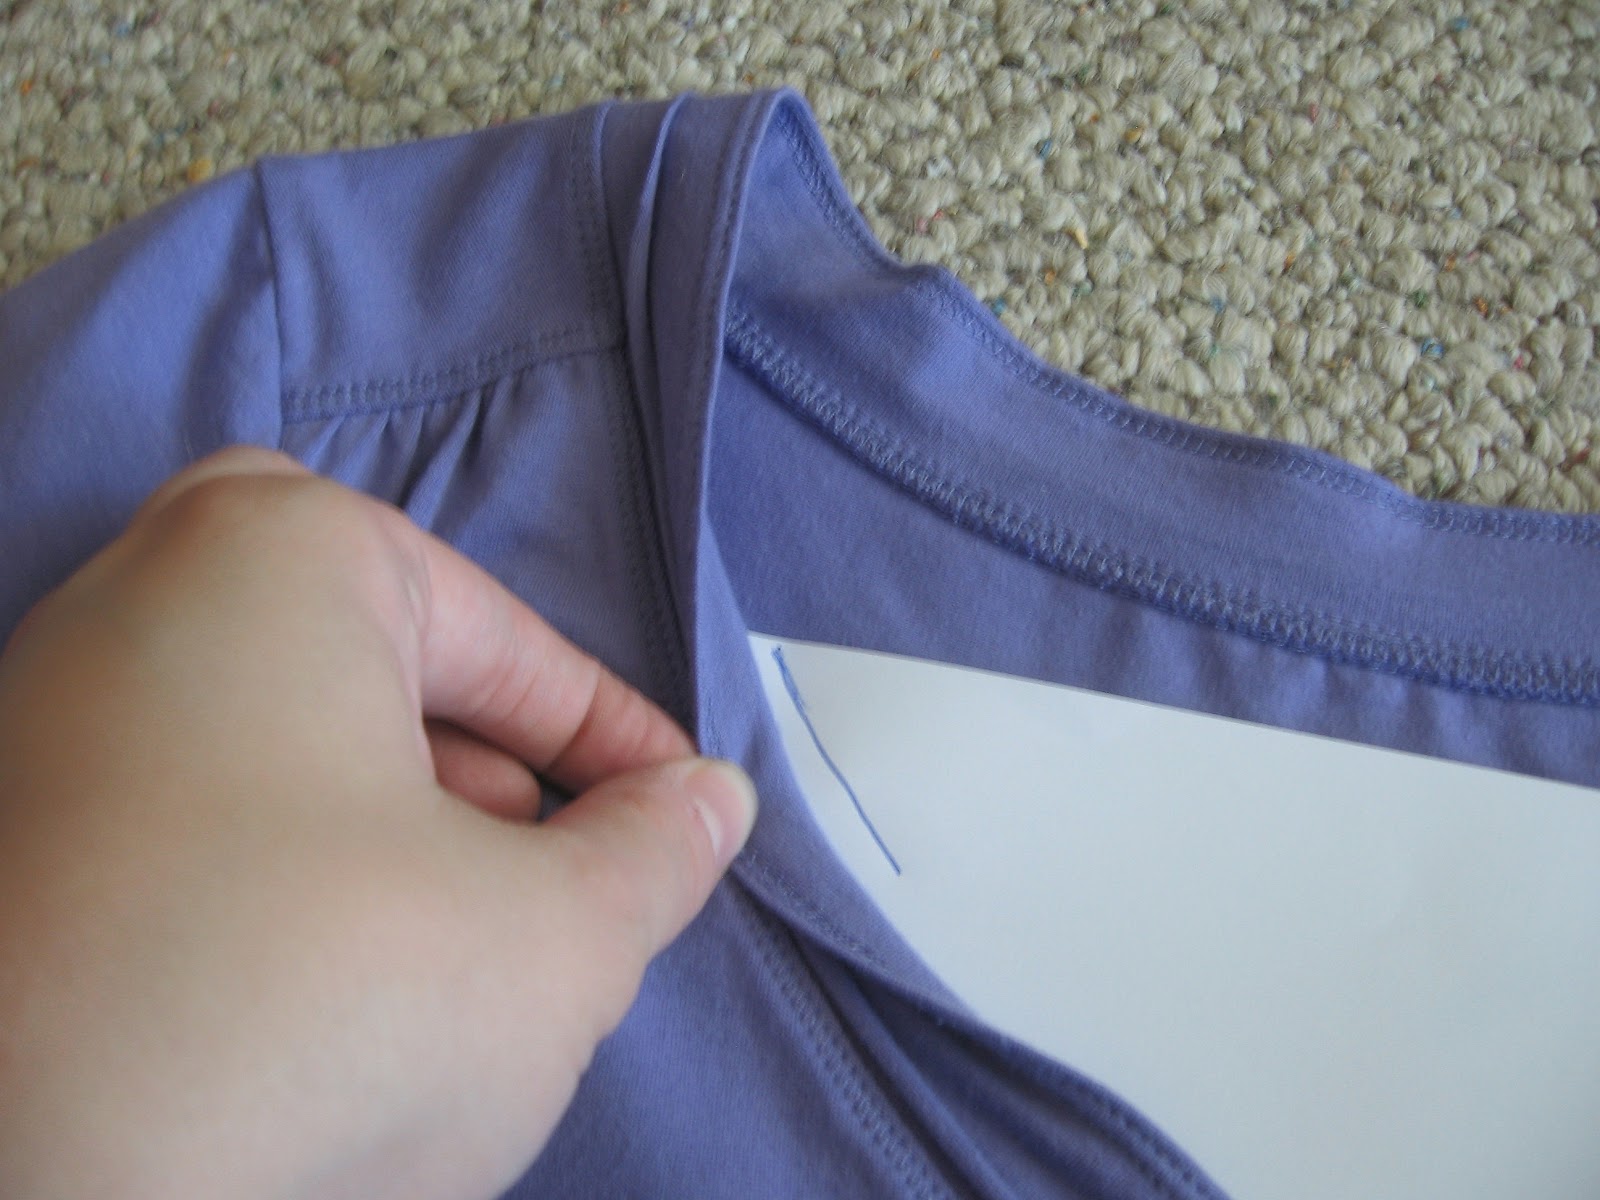
First, I slid a piece of paper inside the shirt and adjusted it so it covered everything I wanted covered.

I lifted the collar of the shirt slightly too account for seam allowances and traced the collar. I only traced half because I knew I could fold the paper in half to cut it out, thus ensuring that both halves were symmetrical.
After cutting out the paper pattern, I placed it over the shirt to make sure it fit.

I traced the paper pattern onto my fabric and cut out the shape I wanted. Then I folded over the top edge approximately 1/4" and pinned it.


Next, I flipped my shirt inside out and put one pin on each corner just to hold the fabric in place.

Then, I turned the shirt right side out again and pinned from the top. I did this because I wanted to sew from the top so I could see my stitches and make sure they were staying where I wanted them. When I was done pinning, I checked the inside of the shirt to make sure I'd pinned both layers of fabric.

I set my stitch length to 3 because I've found that, when sewing with knits, it keeps the stitches from pulling too much.

Making sure my stitches landed in the seam already on the collar of the shirt, I carefully stitched around the perimeter of the fabric inset.

And that's it! This whole project took me under 1/2 hour to complete.

I love the extra "flair" the flowered print gives this shirt!


Thanks so much for visiting Supermommy!...Or Not. Please take a moment to "like" me on facebook"!

Love the fabric! I love going in Hobby Lobby and just browsing through all the choices. (Actually, I like any fabric stores, but you can't beat the prices at Hobby Lobby!)
ReplyDeleteI really hope you will join me for The Dress Project: Summer Challenge. (I even have a prize lined up now for one of the entries!) I'd love to see what you can come up with. Oh, and feel free to pass the word!
I'm definitely planning to join the Dress Project :) There are a few outfits in my daughter's closet that could use some updating!
Delete